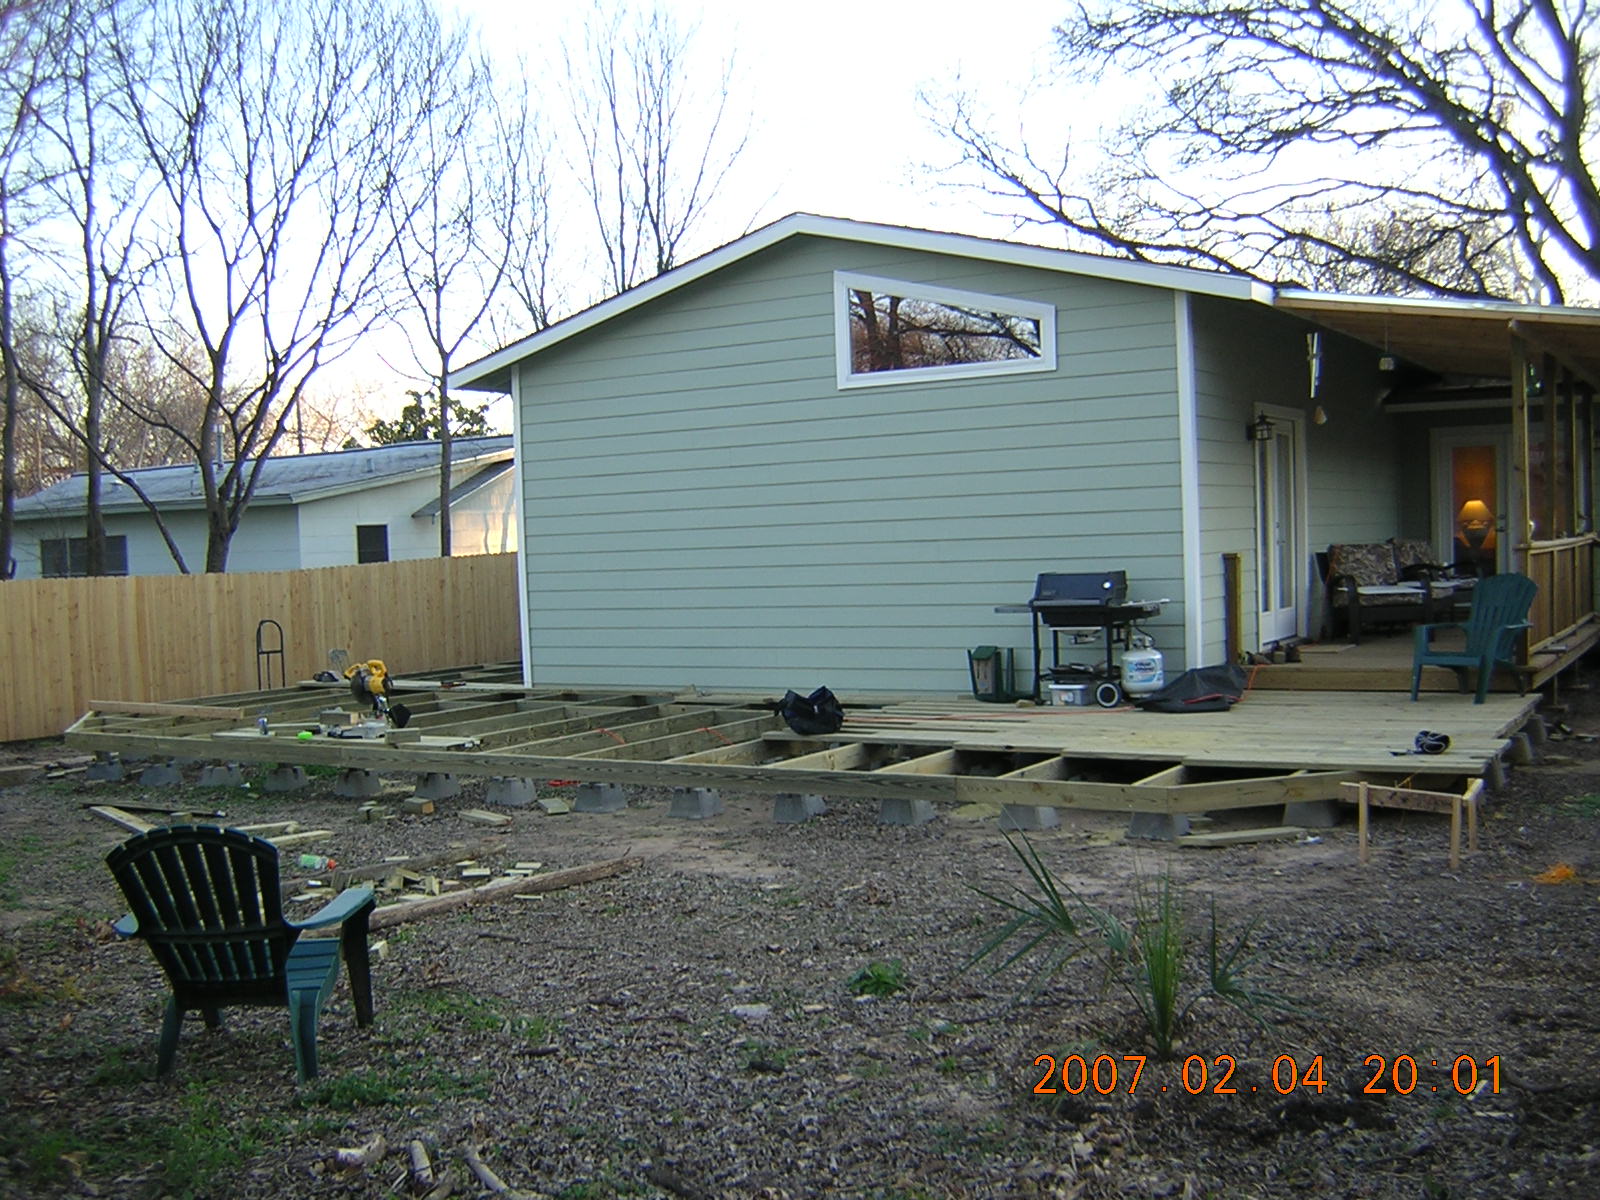
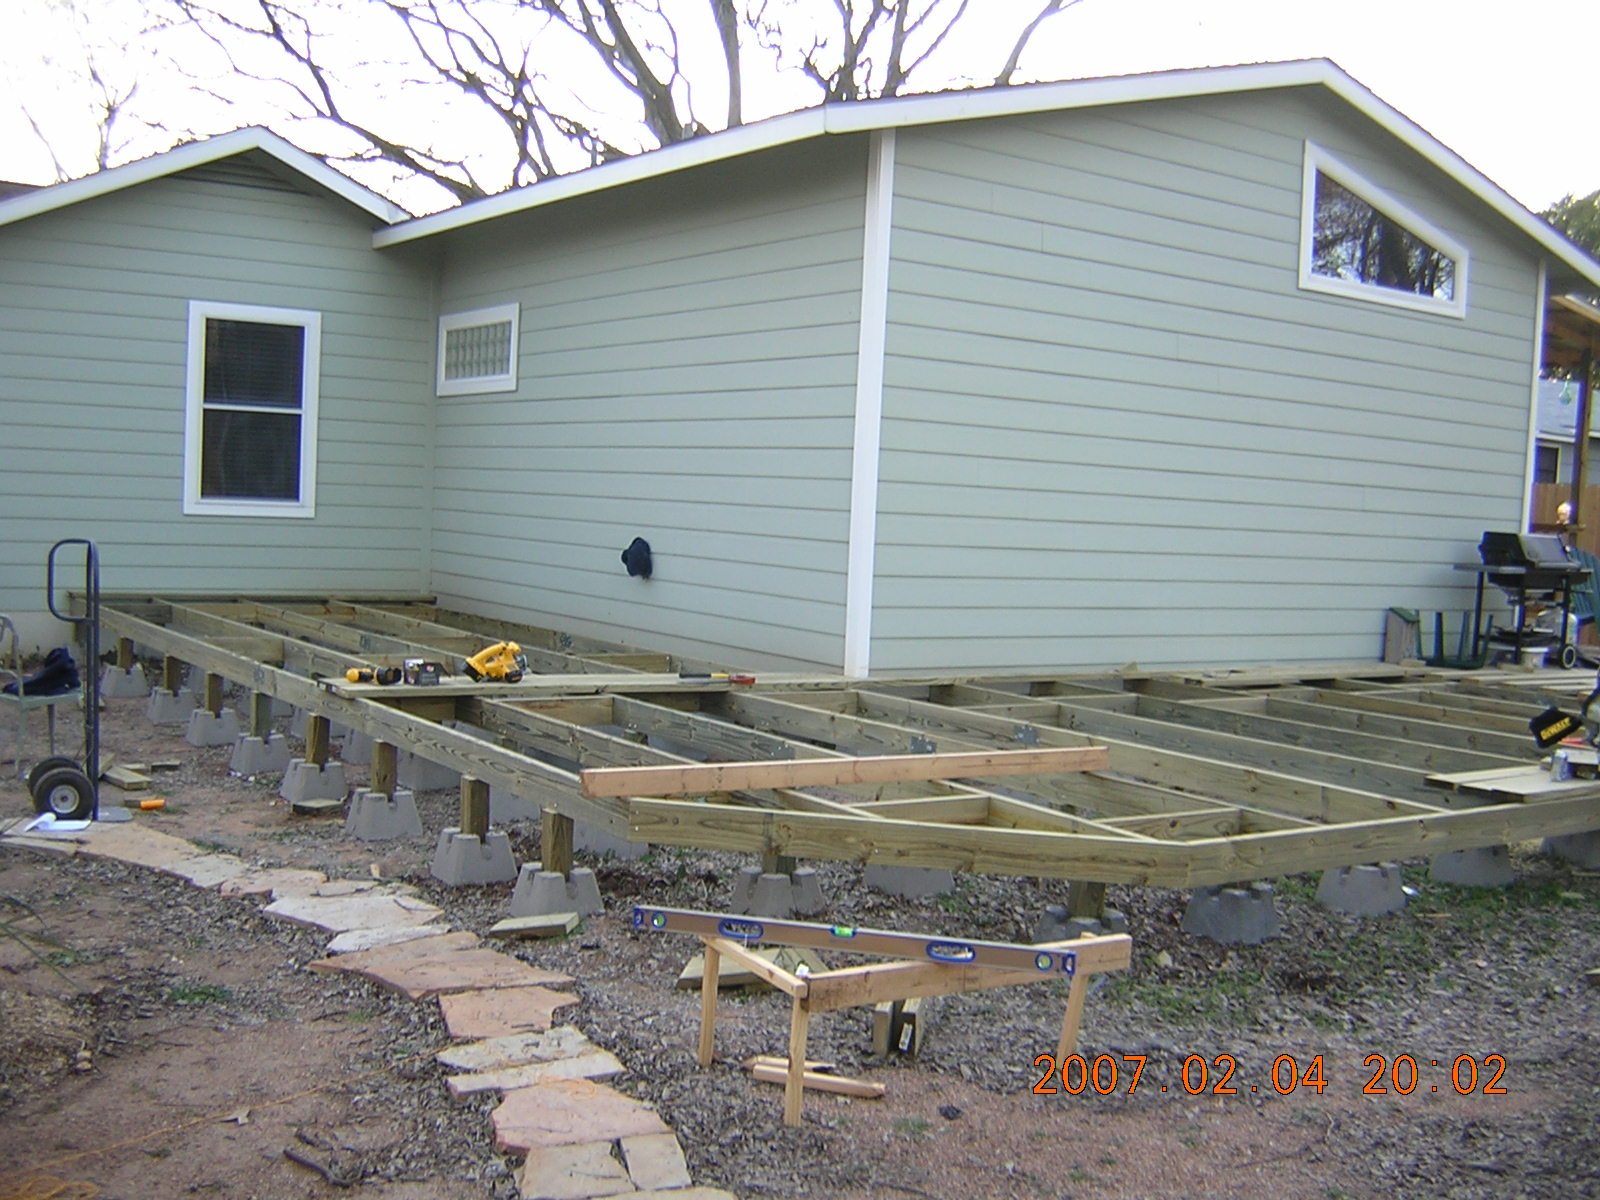
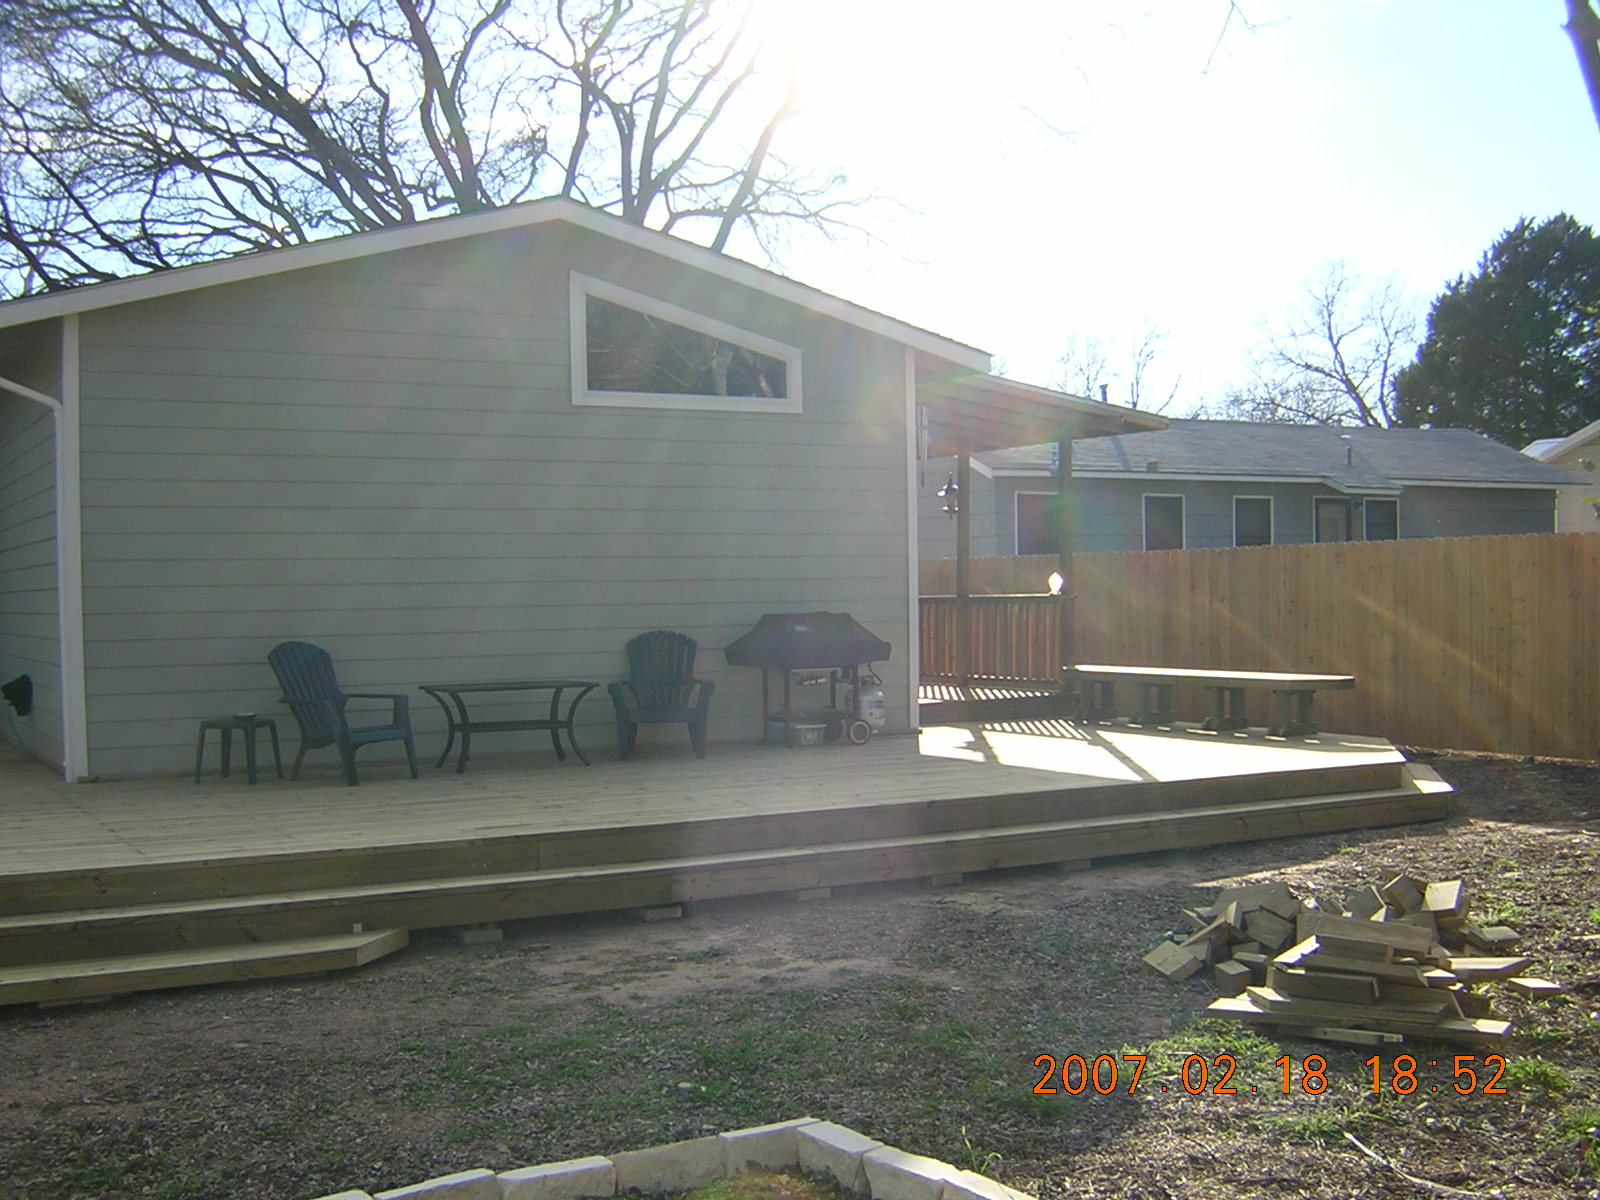
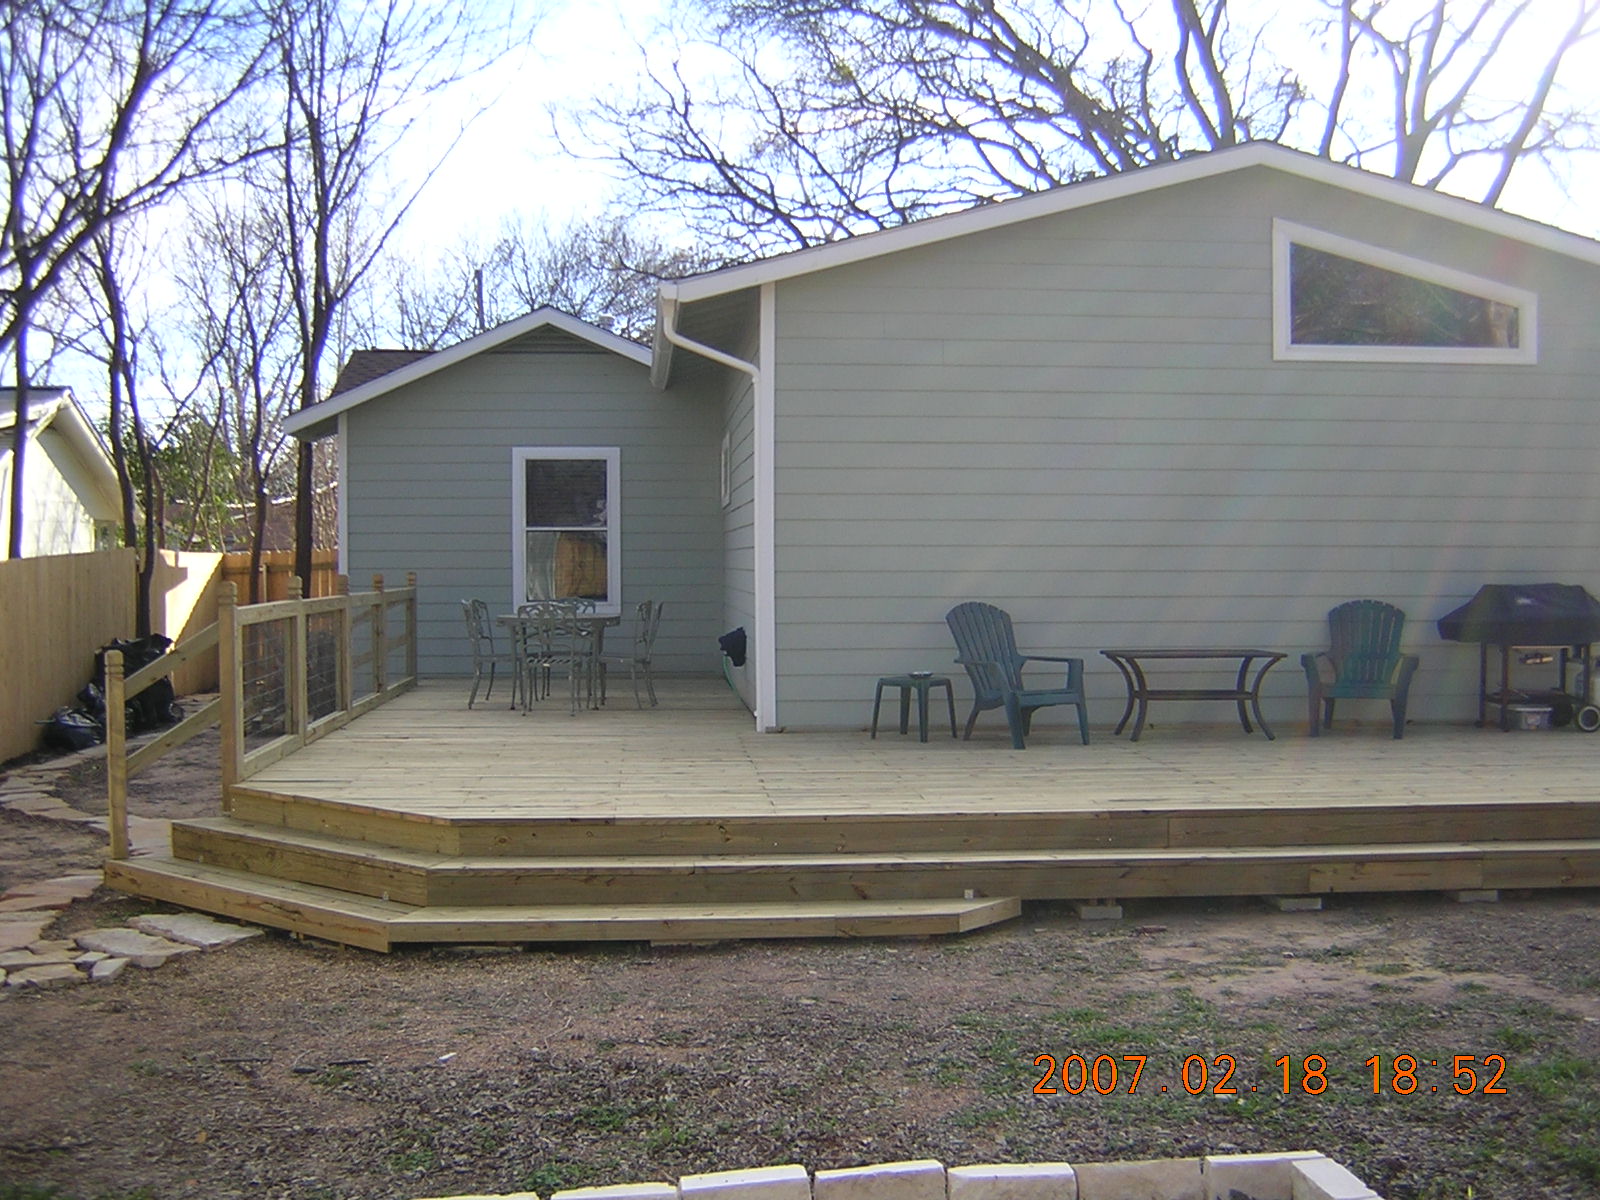
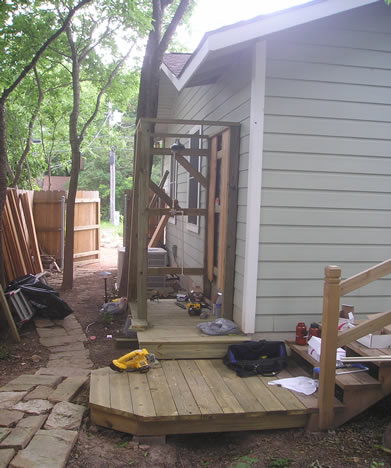
Personal

Growing Things | Playing Games | Building Things | Outdoors | Present Day | From The Past |

Building Things

I like to build things, and my building projects keep getting bigger. Here are a few of my recent outdoor building projects.

The Deck

One of my most ambitious projects for the first house in Austin was to add a 650 square foot wraparound deck to the back of the house. I am comfortable with my construction skills in general, except for concrete. I just can't do concrete. This is one of several reasons why I decided to use Deck Blocks for the footings. In the end, the cost is slightly higher than pouring footings, but it made the job go faster for me. The entire project took six weekends of solid work, along with many hours on weekday evenings. It is framed entirely in 2x6 lumber with 4x4 support piers. Click on the images below to enlarge.
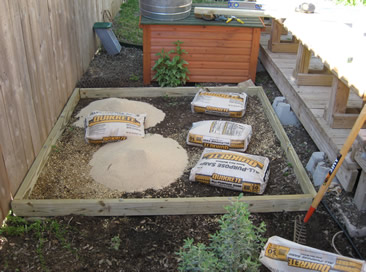
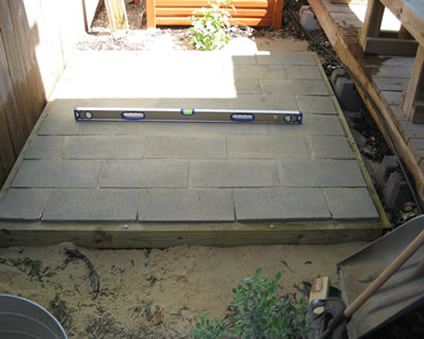
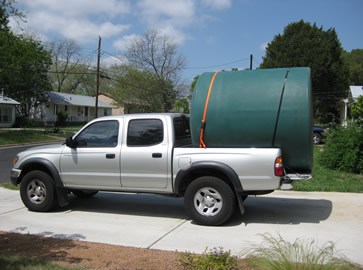
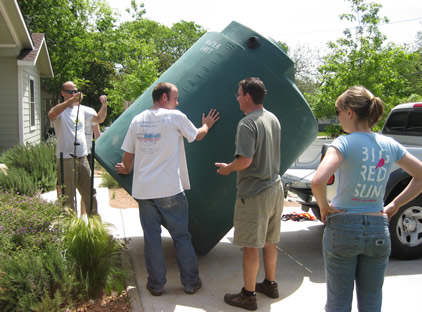
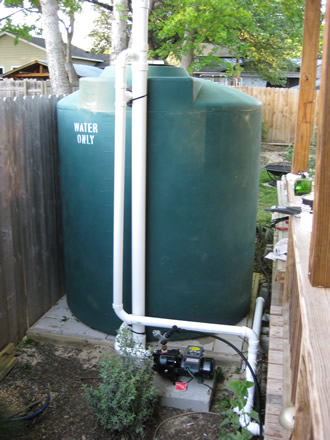
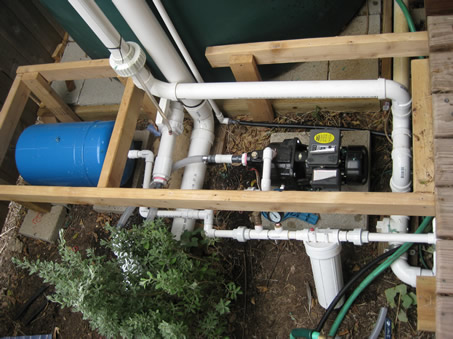
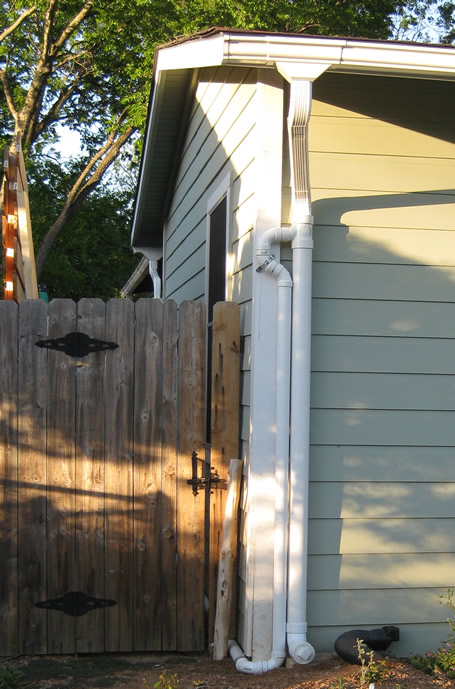
 

Rainwater Harvesting System

In Spring of 2009, I added a 1000-gallon rainwater harvesting system. We had landscaped the yard by removing all the St. Augustine grass and replacing it with drought-tolerant native plants and a 200 square foot vegetable garden. All of this was maintained with a drip irrigation system, making it possible to irrigate the entire yard for five weeks on 1000 gallons. Because our roof catchment area was approximately 1200 square feet, we captured nearly 1000 gallons for every inch of rain. The entire yard could be maintained with absolutely no municipal water.
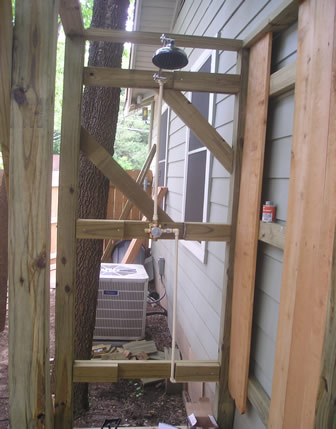
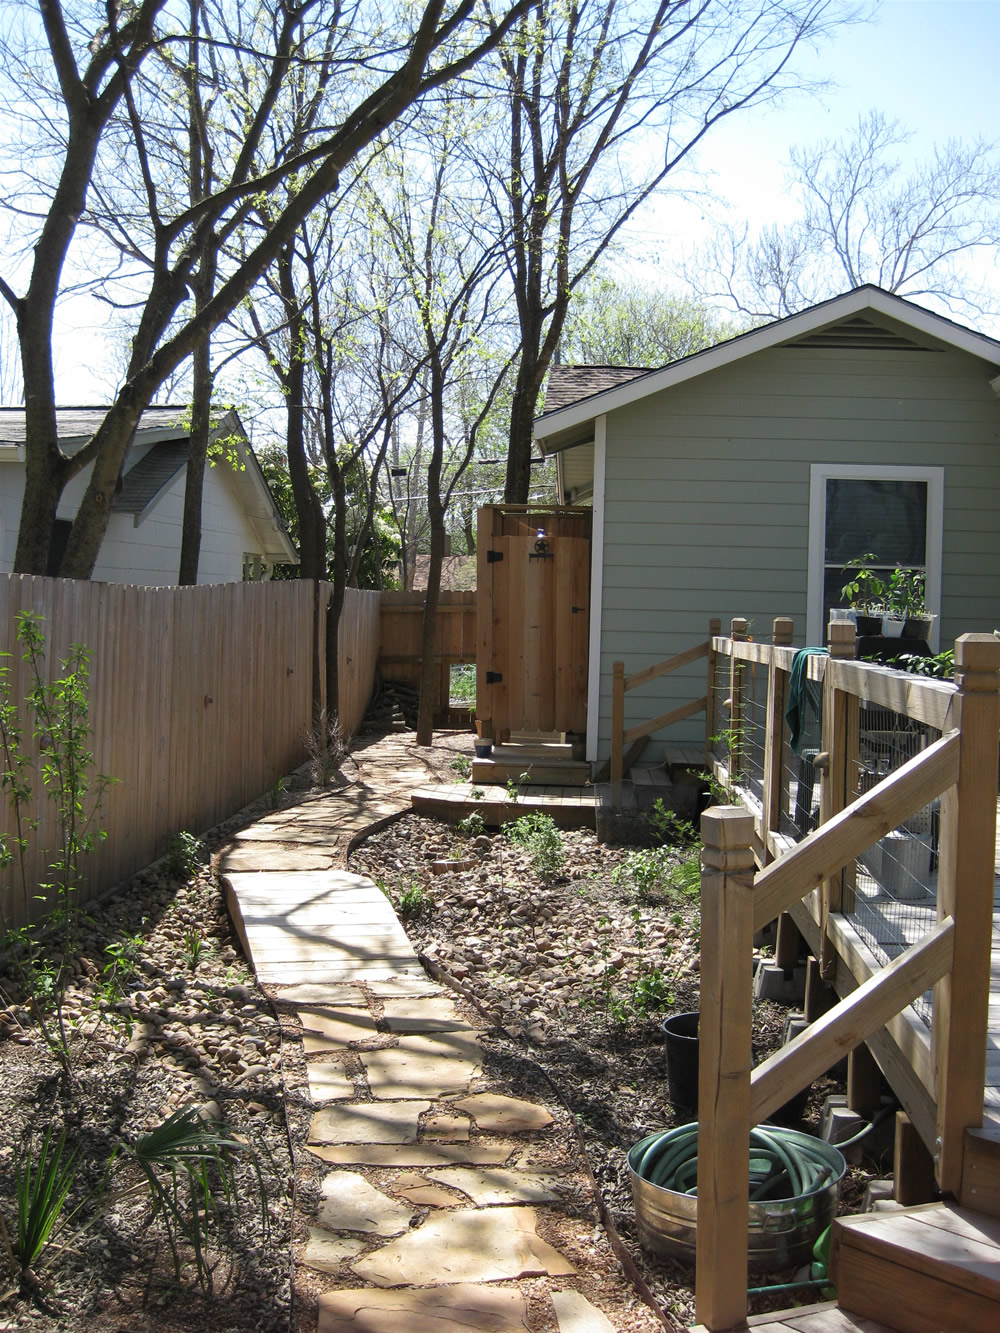
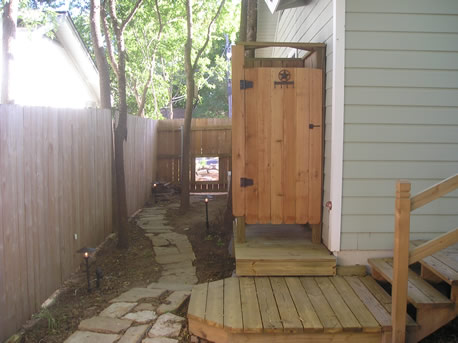
First of all, 1000 gallons of water is heavy, weighing over 8000 pounds. This requires a firm foundation for the tank. As I mentioned earlier, I just cant do concrete, so I built the pad with concrete pavers on a packed sand base.

Secondly, a 1000 gallon water tank is big. The 25-mile drive from Triple-S feed in Dripping Springs to my house with this tank strapped to the bed of my truck was, well - an adventure. To get it into the back yard, I had to take down an eight-foot section of our fence. And we had to assemble a crack team of our neighbors and friends to move the thing into position.


Once the tank was in place, I connected it to inflows coming from downspouts on the four corners of the house. This required a lot of plumbing to route water from all four locations. The output of the system is powered by a 1/2 HP well pump, connected to a pressure tank that feeds the drip system. I started with a 7-gallon pressure tank, but upgraded later to a 42-gallon pressure tank. With more time and experience, kept adding features to the system - filters, pressure gage, relief valve, etc. etc.
Here is a detail of the first-flush system I set up. The downspout feeds a 3-inch PVC pipe (right side) with a cleanout plug at the bottom. The rainwater first fills this pipe, then overflows into the 2-inch pipe on the left. The idea is that most of the dirt and debris in the gutter will come out in the first five gallons or so. This first flush is trapped in the 3" pipe before water is diverted to the rest of the system via the 2" feeder pipes. A small hole in the cleanout plug lets the water in the first flush tube slowly drain out. I found that I needed to open the drain plug and clean debris from the first flush pipe after every seven or eight rainfalls.

Outdoor Shower

Given the amount of water used for showers in most households it made sense to divert this water into the landsape. The easiest way to do this was to create an outdoor shower. Given the warm climate in Austin, it was possible (and comfortable) to use this shower for about nine months of the year. The real reason, of course, is that outdoor showers are awesome.

After adding a platform extension to the base of the existing deck, I created a raised deck for the shower and framed the enclosure. Plumbing for the shower valve and showerhead was done with cPVC. I plumbed it for hot and cold water, then connected in to the hot and cold water feeds under the house. This was the point in my life where I discovered the joys of plumbing with PEX tubing. I will never sweat copper again in my life. PEX is a miracle - it comes in 100-foot rolls, can be connected with crimp connectors or push-in connectors and it can be joined to copper and cPVC with push connectors. It turned a two-day project of running copper pipe into a two-hour project of running PEX.
Detail of the cutout and plumbing.
The finished interior. Also note that I added a light connected to the low-voltage landscape lighting so the shower could be used after dark. Way fun.

This is how the shower fits into the landscape plan. (Click on the photo at left to enlarge). The water from the shower floor is filtered through a gravel bed, then runs under the deck platform and into an 18-inch deep rain garden (under the bridge in foreground). A thick layer of river rock keeps the shower water subsurface. Overflow from the rainwater system is also diverted to the rain garden once the storage tank is full.


      Copyright (c) 2008 Michael R. Markham -- Updated May 30, 2013